
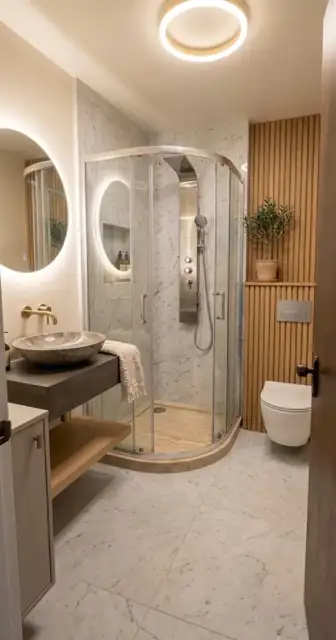
Build the brief around the person
Begin with the tasks that are difficult now and the ones you want to make easier. Discuss how the bathroom is used on a good day and a more difficult day, whether another person assists, and what equipment is used. A bathroom that works for one wheelchair user may not work for another person with different transfer needs.
The bathroom renovation guide covers the wider project sequence. For access planning, involve the person using the room from the first sketch. An occupational therapist can help translate individual needs into a brief for the designer and building team.
- Movement: walking aid, wheelchair, shower chair or other equipment.
- Transfers: the preferred side, direction and amount of assistance.
- Reach: controls, storage, towels, toilet paper and shower fittings.
- Support: where a stable handhold or seat is needed.
- Household use: everyone else who shares the bathroom.
- Future needs: changes you want the room to accommodate.
A wheelchair bathroom layout needs connected space
Measure the approach to the bathroom as well as the room itself. A generous turning area inside is of little use if the doorway or passage cannot be negotiated. Include the door swing, handles and the space needed to close the door after entering.
Map entry, turning, transfer and assistance zones on the same drawing. Some clear spaces may serve more than one task, but only if equipment, open doors and other users do not obstruct them. Use the actual wheelchair or mobility equipment dimensions and confirm the design with the appropriate specialist.
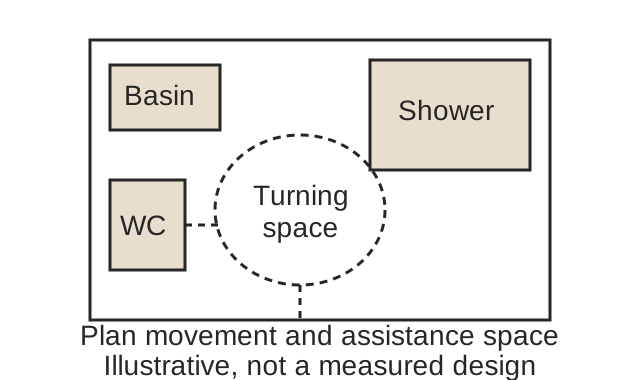
Where possible, test the proposed arrangement at full size before fixing walls or fittings. Mark the fixture footprints and try entering, turning and approaching the toilet and shower. Include the helper’s position where assistance is part of the routine.
Choose fixtures for reach, transfer and support
| Part of the room | Decisions to make |
|---|---|
| Shower | Entry detail, seat or chair, control position, hand shower reach, water containment and assistance space. |
| Toilet | Approach, transfer side, seat height appropriate to the person and equipment, and support positions. |
| Basin | Approach, knee or toe space where needed, tap operation and protection from exposed services. |
| Storage | Everyday items within comfortable reach, with doors and drawers that remain usable. |
| Door | Operation, clear opening, privacy and how help could reach the person if needed. |
A level-entry shower can remove a step, but the rest of the room still needs to work. Compare the floor build-up, drain route and screen position before choosing a shower system. Our wet room versus shower comparison explains the building decisions behind the appearance.
Plan rails and wall support before lining
Choose rail positions from the person’s tasks, not from a generic photograph. Discuss the grip, orientation and clear space with the person and their adviser. The wall construction and fixing detail must suit the support being installed; decorative towel rails are not substitutes for support rails.
If walls will be opened during the renovation, coordinate any required reinforcement before they are closed. Keep a record of the support locations for later installation or maintenance. The designer and installer should confirm suitable products, substrate and fixing arrangements.
Lighting and surface choices also affect how the room is used. Consider visibility at night, glare, contrast between fittings and backgrounds, and cleaning routines. Ask for the relevant product information for wet-area floor performance rather than selecting by texture alone.
Home accessibility and building requirements
A private bathroom brief starts with its occupants, the existing building and the proposed work. Adapt the room around the person’s movements and equipment, and have the design checked against the requirements for that project.
Arrange the design and approval checks before selecting products that constrain the plan. Structural changes, plumbing work, waterproofing and the shower construction may require different documentation and trade involvement. Keep the user’s needs and the technical design on the same drawing.
If the work is part of adapting an existing bathroom, compare the complete layout change with a more limited bath-to-shower replacement. Removing the bath alone may leave difficult toilet access or a narrow doorway unresolved.
Accessible bathroom design checklist
- Record the tasks and equipment the room must accommodate.
- Measure the approach, doorway and room, including fixed projections.
- Draw fixture footprints and all opening doors.
- Map turning, transfer and assistance positions.
- Confirm reach to controls, storage and emergency assistance arrangements.
- Agree shower entry, floor and water-containment details.
- Resolve rail positions and wall support before lining.
- Confirm design responsibilities, trade work and any council requirements.
- Try the proposed movements before ordering fixed fittings.
- Keep the final drawings and product care information for handover.
A clear brief makes quotations more comparable and reduces the chance that a late fixture change compromises access. Use the bathroom renovation checklist for selections and the rest of the project.
Your questions
What size should an accessible bathroom be?
The usable space depends on the person, equipment, transfers and assistance required, as well as the fixture arrangement. Have the layout assessed against those needs and the requirements for the proposed work.
Does a walk-in shower make a bathroom accessible?
It can improve entry, but the doorway, circulation, controls, seating and toilet access also matter. Plan the room as a connected sequence of tasks.
Can support rails be added later?
They can be planned for later installation, but suitable wall support and fixings are essential. Agree the likely locations and record any reinforcement before the walls are closed.