
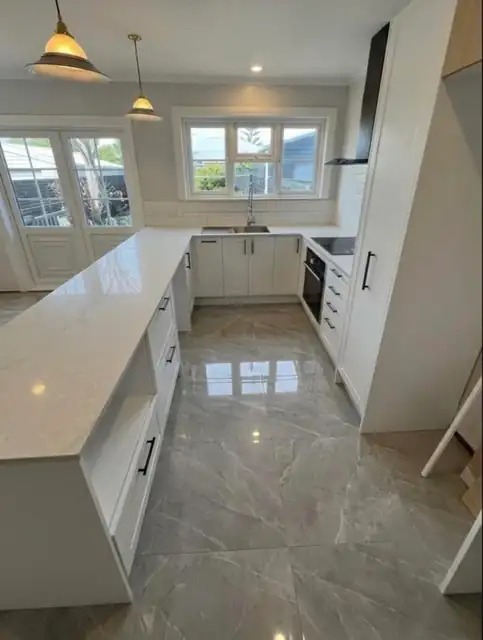
Measure the laundry room first
Start with a plan of the whole room, including anything that narrows it. Record the finished wall-to-wall dimensions, ceiling height, doors and windows. Mark skirting, pipes, bulkheads and other projections rather than drawing an empty rectangle.
Our home renovation guide helps place this measuring step before selections and ordering. For a laundry, photograph each wall and number the photos to match your sketch. A detail that is hard to describe is often obvious in a photograph.
- Measure each wall separately, including short returns beside doors.
- Mark the distance from a corner to each opening, then its width and height.
- Show door swings and the direction in which cupboard doors will open.
- Locate taps, drains, power points and ventilation openings.
- Note steps, slopes and changes in floor finish.
Appliance dimensions are not installation dimensions
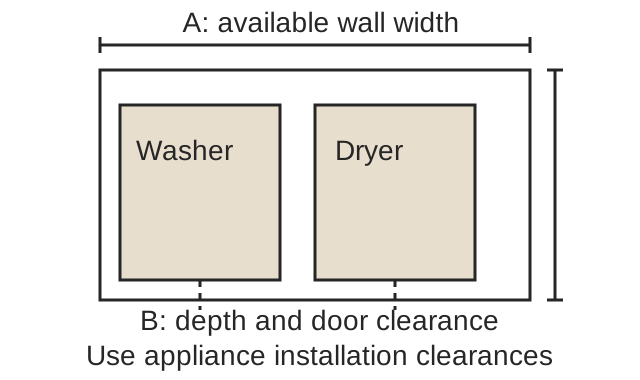
Machines with similar capacity can have different widths and depths. These two front-loader examples show why the model number matters. The dimensions below describe the appliance body; the installation sheet determines the additional space it needs.
| Example appliance | Height | Width | Depth |
|---|---|---|---|
| Fisher & Paykel WH9060PG5 | 850 mm | 602 mm | 593 mm |
| Fisher & Paykel WH8060P3 | 850 mm | 600 mm | 645 mm |
The second example is 52 mm deeper even though it is slightly narrower. A cabinet sized around a generic “600 mm machine” can therefore fail on depth, hoses or door clearance. Confirm the exact model and its installation drawing before ordering joinery.
Measure the usable space, not just the visible recess. Include fittings behind the machine and confirm the route for hoses and power. The appliance should be removable for servicing without cutting cabinetry or trapping the connections.
Laundry cabinet dimensions: work from the equipment
For an under-bench appliance, begin with the required installation envelope. Add the cabinet construction, the benchtop and any specified clearances. Check how the bench, skirting and plinth affect the opening. Where a machine stands on an uneven floor, its adjustment range is another detail to confirm.
Width example: a 602 mm washer beside a 600 mm cabinet occupies 1,202 mm before end panels, fillers, service access or appliance clearances. That is the start of the calculation, not the final wall length. Write each extra allowance as a separate line on the drawing.
Choose benchtop height for both the appliance and the person doing the work. If a higher bench suits the installation but makes folding awkward, explore another arrangement instead of treating one bench height as mandatory. Keep the tub depth and tap operation in the same discussion.
Side-by-side, stacked or behind cupboard doors?
| Arrangement | Measure carefully | Try it before deciding |
|---|---|---|
| Side-by-side | Total machine widths, required side spaces and usable bench depth. | Open both doors and place a washing basket where you normally stand. |
| Stacked | Combined installed height, the approved stacking system and overhead access. | Check that controls, detergent drawers and lint filters are comfortably reachable. |
| Cupboard laundry | The machine envelope plus hinges, handles, door opening and ventilation requirements. | Open the cupboard and appliance doors together and test the route past them. |
| Top-loading washer | Installed height and the full raised-lid space. | Check that shelving or a bench will not stop the lid opening. |
A stack needs a compatible arrangement specified for the appliances. A shelf drawn between two machines is not a substitute for an approved installation detail. For the broader choice of room layout, use our laundry renovation guide.
Check the space you use, not just the space you fill
Draw a second outline for each open door or drawer. Add the person loading the washer, a basket on the floor and any through-route to an outside door. This reveals conflicts that a plan showing only closed cabinetry misses.
Try the movements at full size with removable tape or cardboard where practical. Carry a basket through the doorway, bend to the washer and reach the proposed storage. Include everyone who regularly uses the room; their comfortable reach and movement may differ.
- Can you reach shut-off taps and power without pulling out a machine?
- Can the washer door stay open for loading without blocking the only exit?
- Can you remove filters or empty a dryer water container?
- Can a repair technician remove the appliance?
- Does a projecting handle catch someone moving past?
Your laundry measurement worksheet
| Record | Your notes should include |
|---|---|
| Room | Wall lengths, ceiling height, openings and changes in floor level. |
| Appliances | Make, model, body dimensions and the installation sheet. |
| Services | Tap, drain, power and ventilation positions, plus any proposed moves. |
| Joinery | Cabinet and bench sizes, panels, fillers, handles and opening directions. |
| Everyday use | Basket positions, folding space, storage and through-routes. |
| Checks still needed | Anything requiring confirmation by the cabinetmaker, appliance supplier or trade. |
Date the sketch and keep the latest version with the product information. Before manufacture, have the relevant installer confirm site dimensions and the final specification. If you are comparing quotations, give everyone the same drawing and list of inclusions.
Your questions
What is the standard laundry size in New Zealand?
There is no single room size that suits every home or appliance combination. Work from the exact equipment, storage needs and clear space required for everyday use.
Will a 600 mm washing machine fit a 600 mm cabinet opening?
The nominal width alone cannot confirm that. Check the model’s actual dimensions and required installation clearances, including hoses, connections and door movement.
How deep should a laundry benchtop be?
Choose its depth from the appliance and cabinet installation requirements, the wall services and comfortable reach. Confirm whether the machine or its door will project beyond the bench.