
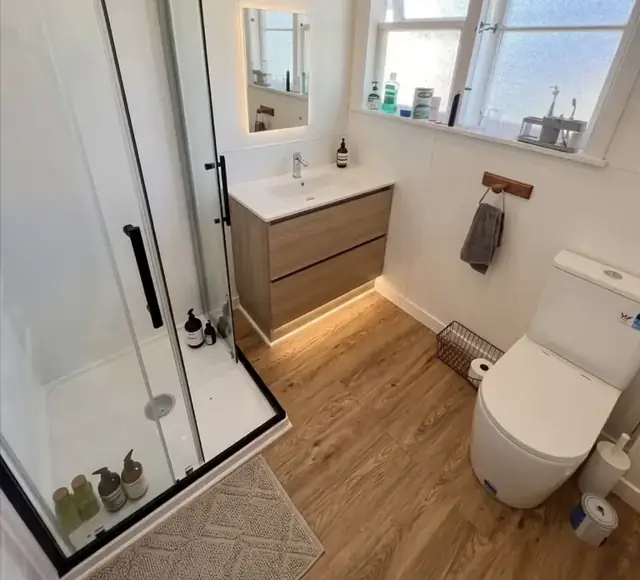
Start with what matters in everyday use
An acrylic-lined shower uses a manufactured wall lining and tray system. A tiled shower combines a designed substrate and waterproofing system with the tile finish. The visible surface is only part of either choice.
| Your priority | Acrylic-lined shower | Tiled shower |
|---|---|---|
| Fit and appearance | Choose a unit whose dimensions and opening suit the space. Check the complete installed footprint. | More scope to tailor the shape and finish, with the design and construction details resolved together. |
| Cleaning | Smooth wall linings are straightforward to wipe down. Follow the product’s cleaning instructions. | Tile, grout and sealant joints all need care. Consider the number of joints and the chosen finish. |
| Installation | Coordinate the tray, lining, enclosure and plumbing as a compatible system. | Allow for substrate preparation, waterproofing, tiling and the specified curing and inspection stages. |
| Budget discussion | Price the complete fitted unit and the work needed to prepare the room. | Price the complete assembly, including waterproofing, tile work, glass and details such as niches. |
Acrylic can suit a straightforward replacement where a suitable unit fits. Tiling can suit a room where the dimensions or finish call for a more tailored design. Make the decision alongside the wider bathroom renovation, so it works with the floor, vanity, ventilation and storage.
Check the opening, not just the tray size
Measure the space and mark the door swing before choosing a shower. Think through how you step in, where the towel goes and whether the screen clashes with the vanity or bathroom door.
- Draw the finished footprint. Include the walls, screen and doorway, not just the advertised tray dimensions.
- Try the movement. Check entry, turning space, reaching the controls and passing other bathroom users.
- Choose storage deliberately. Decide where bottles sit and include any shelf or niche in the specification before building starts.
- Explain access needs. Tell us about any difficulty with steps, narrow openings or reaching controls so the design can address it.
- Check the existing floor and walls. The substrate, drain location and surrounding finishes affect what needs to be altered.
Use our small bathroom layout guide to test the shower alongside the other fixtures. A larger shower can be a poor trade if the room becomes awkward to move through.
Compare the complete installation
Ask for the same scope when comparing options. A boxed shower price and a complete tiled installation price describe different amounts of work. List the items needed for your bathroom before judging the difference.
- Removal and disposal of the existing shower and affected finishes.
- Assessment and preparation of the floor and walls.
- Plumbing alterations, the waste and the chosen fittings.
- The complete tray, wall lining or tile and waterproofing system.
- The screen, door, handles, shelves and other selected details.
- Approvals, inspection stages and making good the surrounding room.
Put those items alongside the rest of your bathroom renovation budget. Ask what is included, which products are specified and what would change the price or programme.
Confirm consent for the actual shower design
Some alterations to existing sanitary plumbing can be exempt when an authorised plumber carries them out and the exemption’s conditions are met. That does not settle the approval requirements for the rest of a shower installation. Tiled wet-area construction and changes to an approved shower assembly need a separate check with the designer and council.
Our renovation consent guide helps you prepare the questions. Resolve the design and approval path before ordering the enclosure or starting removal work.
Make a two-option brief
Give both options the same room layout, fittings and storage requirements. For the acrylic option, name the proposed unit and enclosure. For the tiled option, record the tile, waterproofing system, screen and any niche or seat.
Then ask: what preparation is shared, what work changes between options, and how long will this bathroom be unavailable? You can weigh the finish against the complete building scope and the disruption to your household.
Questions about choosing a shower
Does an acrylic shower mean the rest of the bathroom cannot be tiled?
No. An acrylic-lined shower can sit within a bathroom with tiled finishes elsewhere. Coordinate the junctions and waterproofing details for the whole room.
Will tiles alone keep water out?
The waterproofing system behind the tiled finish is essential. Ask how the substrate, membrane, junctions and penetrations will be specified and checked.
What should I keep at handover?
Keep the product names, cleaning guidance, relevant installation and waterproofing records, and approval documents for the work. They make future care and repairs easier to plan.