
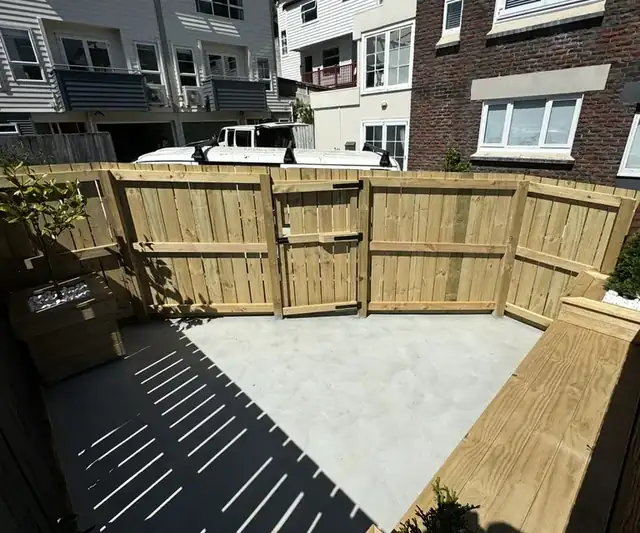
Walk the boundary with a purpose in mind
Decide where you need privacy and where a gate or open view matters more. A long boundary may need several different treatments, so mark those changes instead of describing the whole job as one fence. Our timber fencing work starts with the site and the job the fence needs to do.
Photograph the fence line from each end and identify corners, planting, existing posts and any wall beside it. Include the spaces where a gate will swing and where bins, bikes or garden equipment need to pass. These details help us discuss a fence that fits everyday use as well as the view from the house.
Check the actual Kāpiti address
Kāpiti Coast District Council provides property-specific hazard information. Use the address when checking site conditions, alongside the relevant planning and building questions for the proposed fence.
Tell us which sections are exposed to wind, where water collects and where ground levels change. We can discuss how those observations affect the construction assessment. Confirm the boundary position and record arrangements with the adjoining owner before the work is set out.
Divide the job into buildable sections
Level runs
Mark the approximate length and the screening you want. Show where a new section meets existing fencing or a building.
Changing ground
Take side-on photos of slopes and steps. Identify places where soil is being held back so retaining work can be assessed separately.
Exposed edges
Describe what happens in strong wind and the condition of the current fence. Share those observations before choosing the final construction.
Gates and access
Measure the clear opening you need and the room for the gate to move. Include any delivery route that needs to remain usable.
Prepare the site discussion
- Label fence sections on a sketch and give approximate lengths.
- Mark the desired height at different ground levels.
- Identify old fencing to remove and any posts you hope to retain.
- Photograph the route from unloading to the boundary.
- List known services, shared access and any pool or retaining structure nearby.
- Keep boundary and neighbour arrangements with the scope notes.
Our guide to comparing renovation quotes is also useful for checking fence inclusions. Ask how removal, gates and finishing are described in the written scope. The consent planning guide helps organise questions before work proceeds.
If the property is in the valley instead, use our Lower Hutt timber fencing page for the relevant council guidance.
Should we choose a fence style before getting in touch?
A style preference is helpful, but you can start with photos, approximate dimensions and the privacy or access problem you want solved. We can discuss the site details that need resolving before the construction is chosen.